CocosViewController – How to use Storyboards and Cocos2d V3+
Cocoa • cocos2d • iOS • iPad • iPhone • Videogames

I will write this tutorial in English, so, sorry for the language errors ;)
Some weeks ago I wrote a simple class for Cocos2D v3+ to use Cocos2D and Storyboards called CocosViewController.
CocosViewController is a UIViewController subclass that create CCDirector and put it in the controller view.
So, with this class we can have a Cocos2D view controller inside a Storyboard environment but we can also add UIKit elements above the Cocos2D view.
So, start this little tutorial.
How to use CocosViewController.
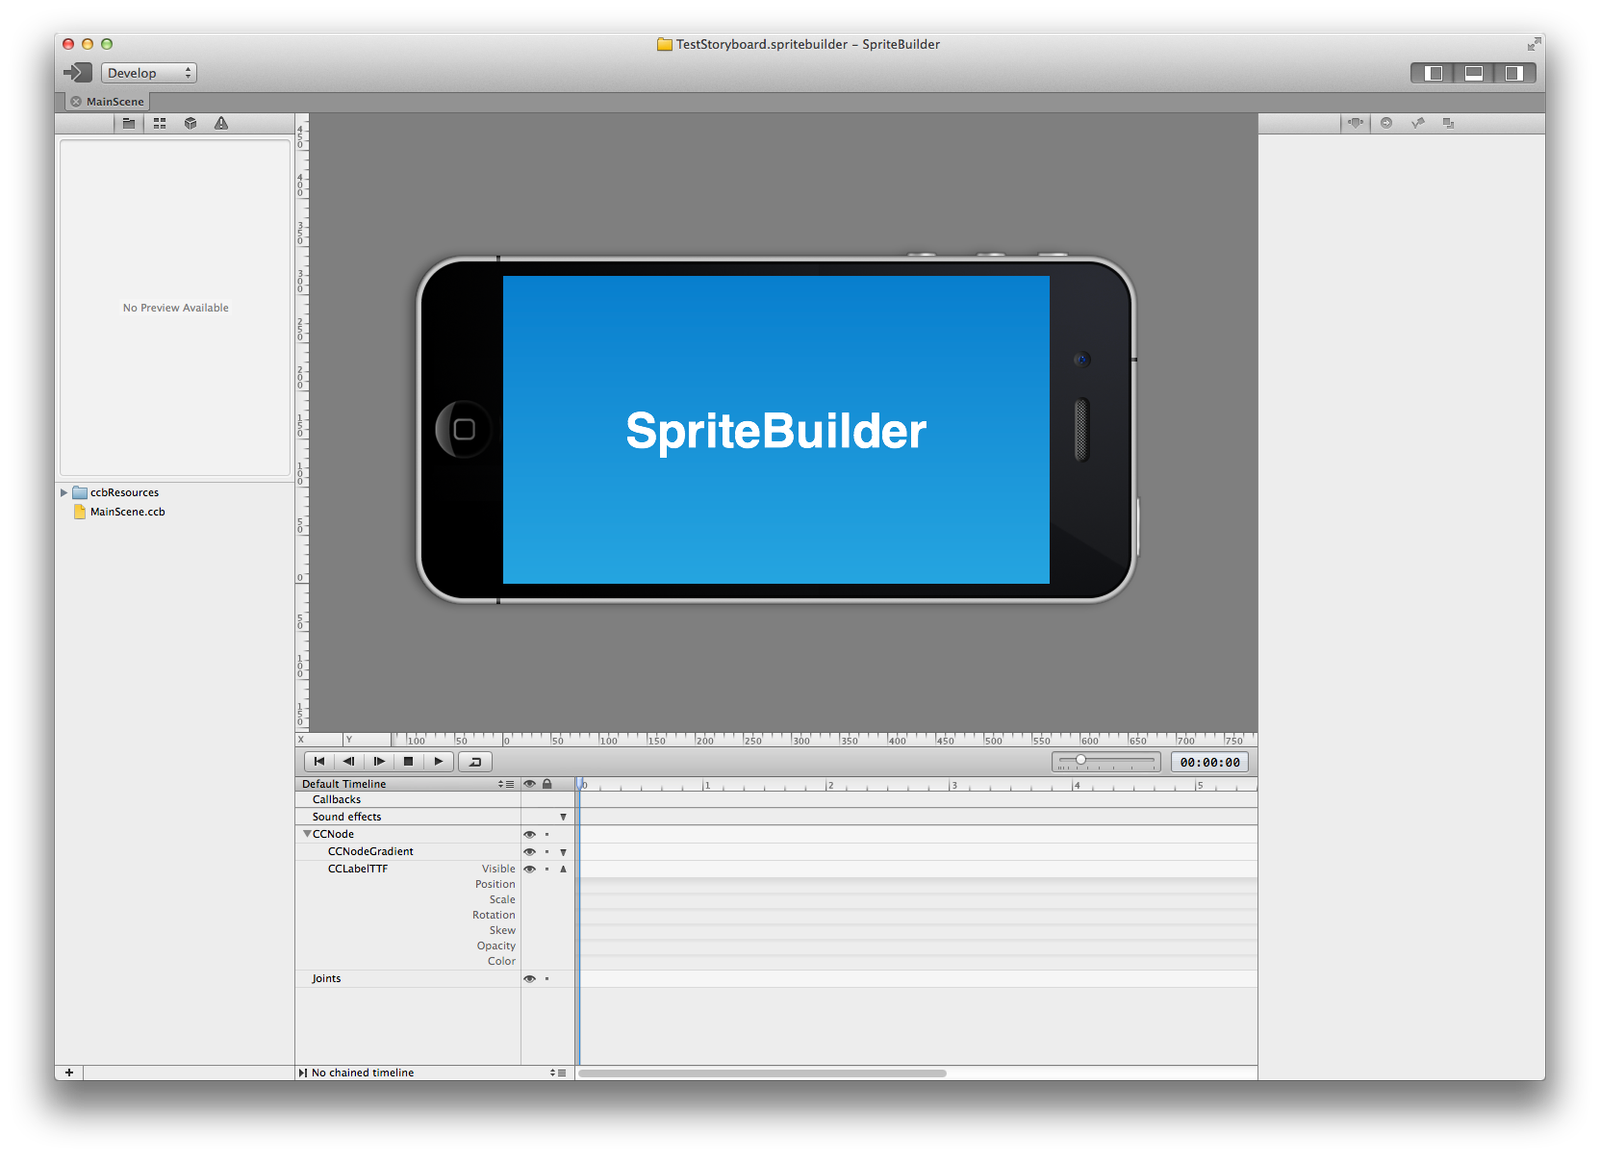
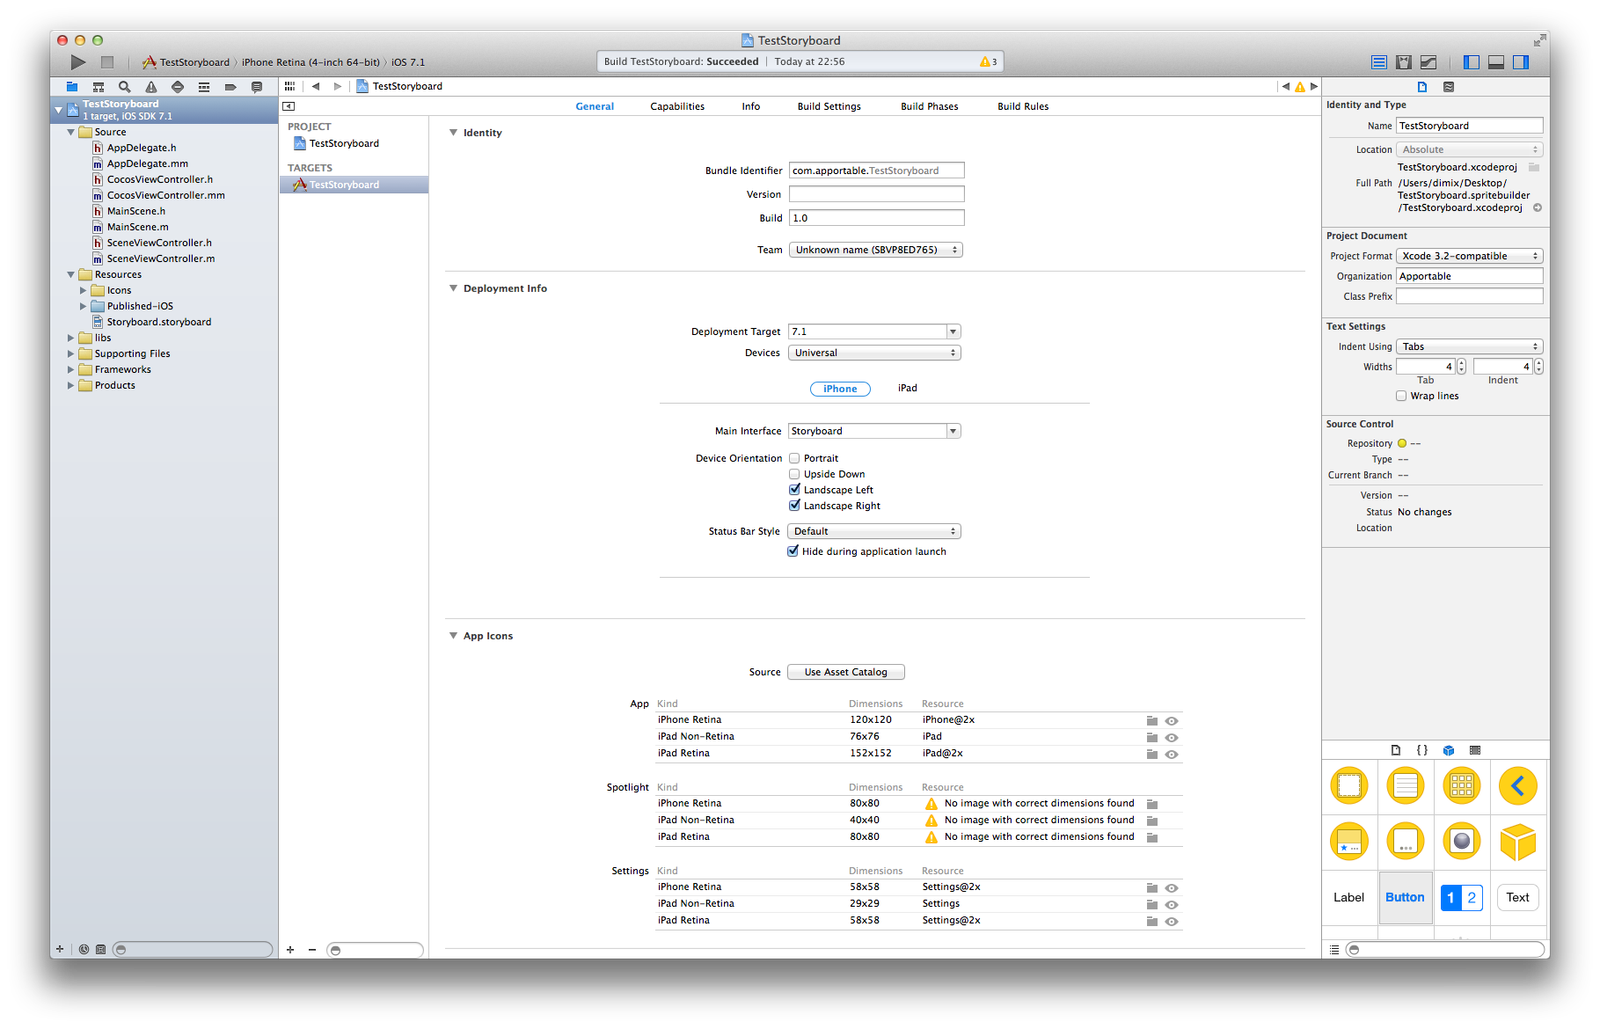
Create a new project (or use an existing one, but I recommend you to start with a new one to become familiar with the class) with SpriteBuilder, you can use the latest 1.2 version with Cocos2D v3.2.
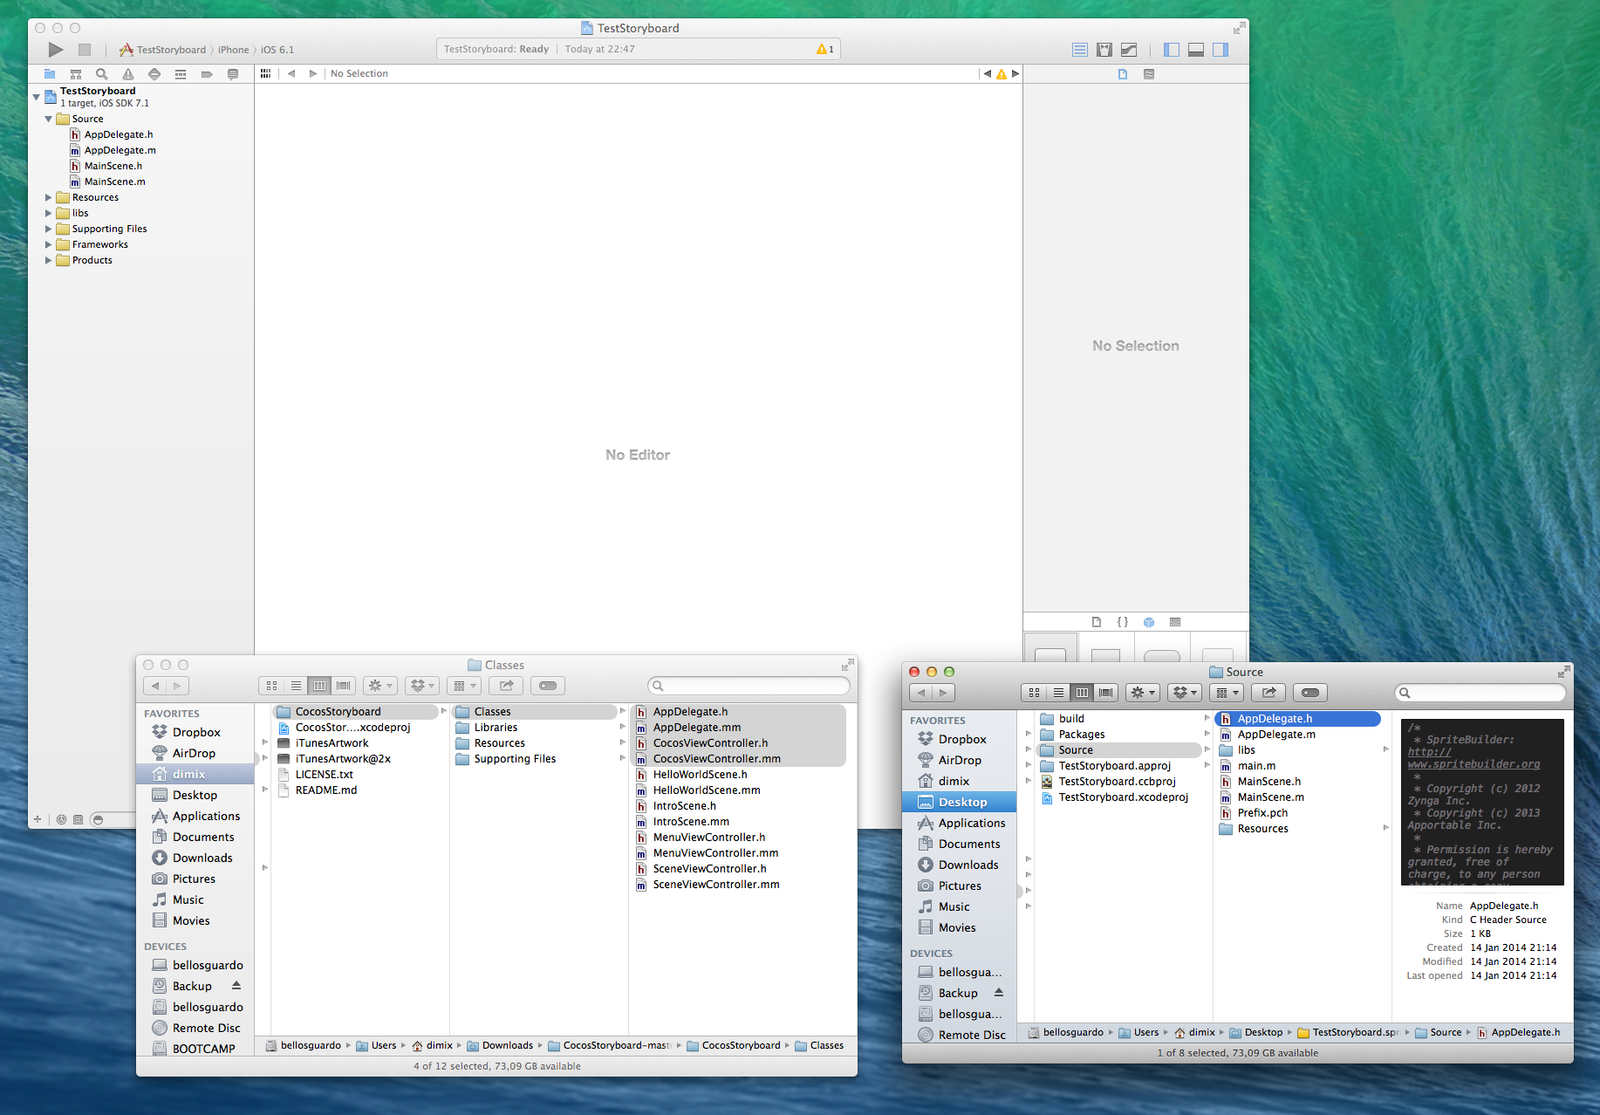
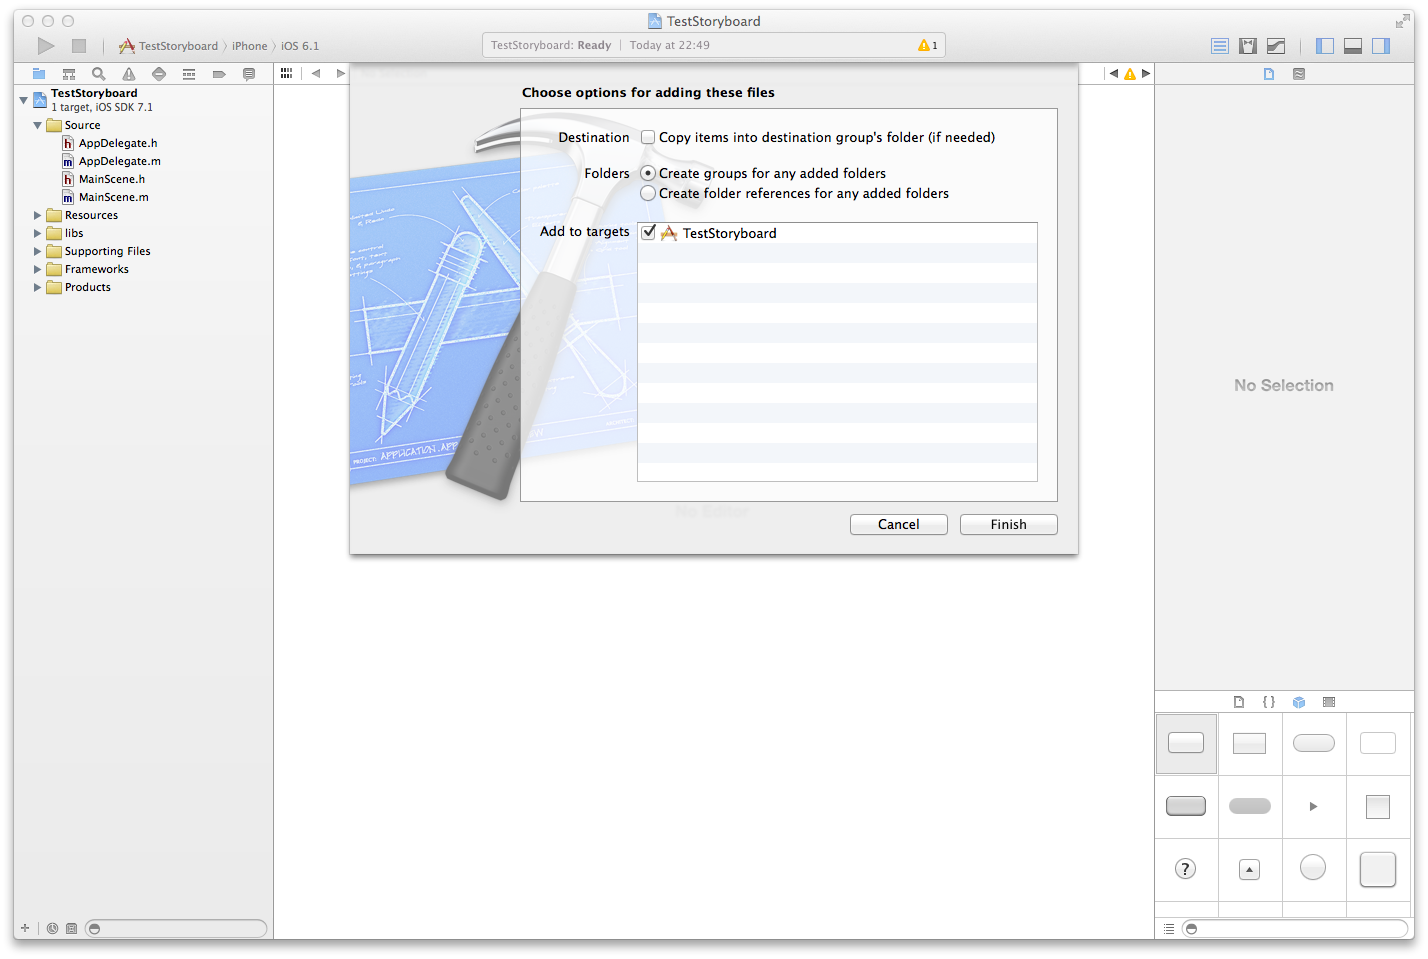
Remove AppDelegate class and replace with the one in the CocosViewController project. Then copy CocosViewController.h/mm files in your project directory and add it in the xcode project.
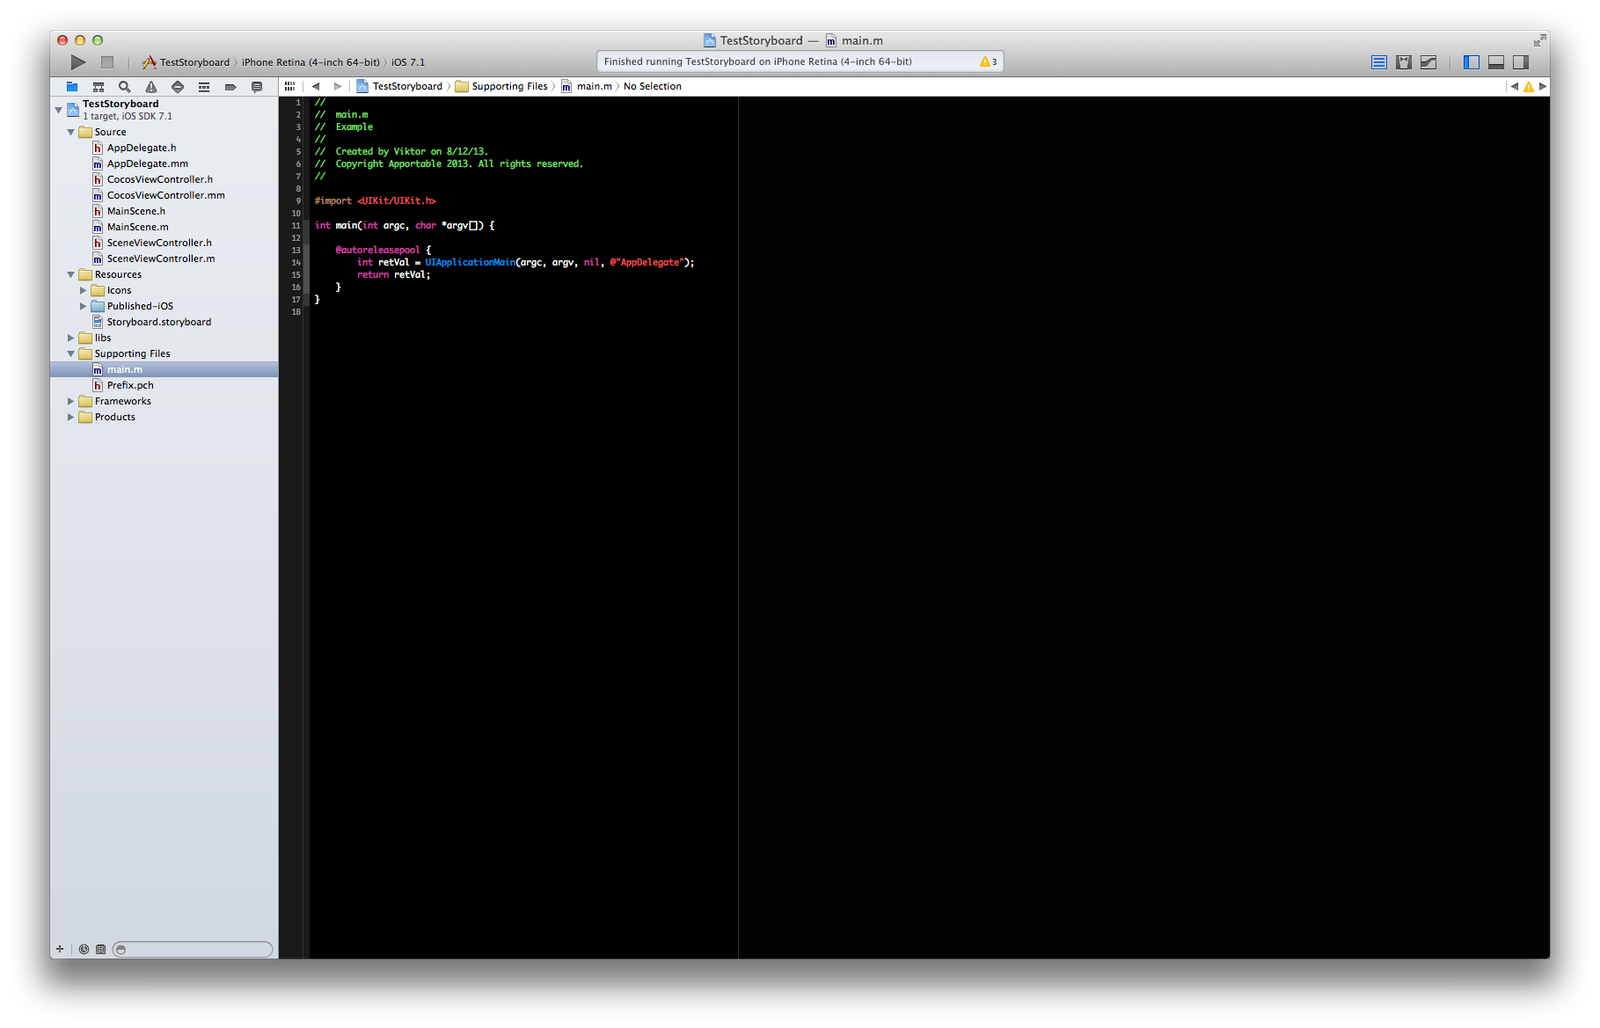
Now locate the file named main.mm and rename the @”AppController” string with @”AppDelegate”.
Note: you can also rename the AppDelegate class, but for this tutorial this is the fast way.
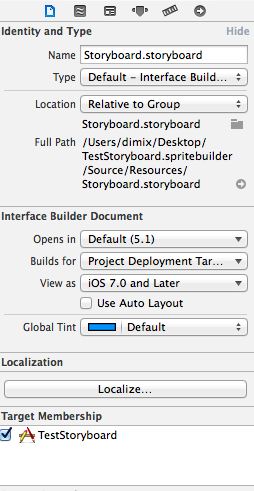
Now add a new Storyboard to the project, disable Autolayout and update the project to use iOS 6.0+ and the storyboards.
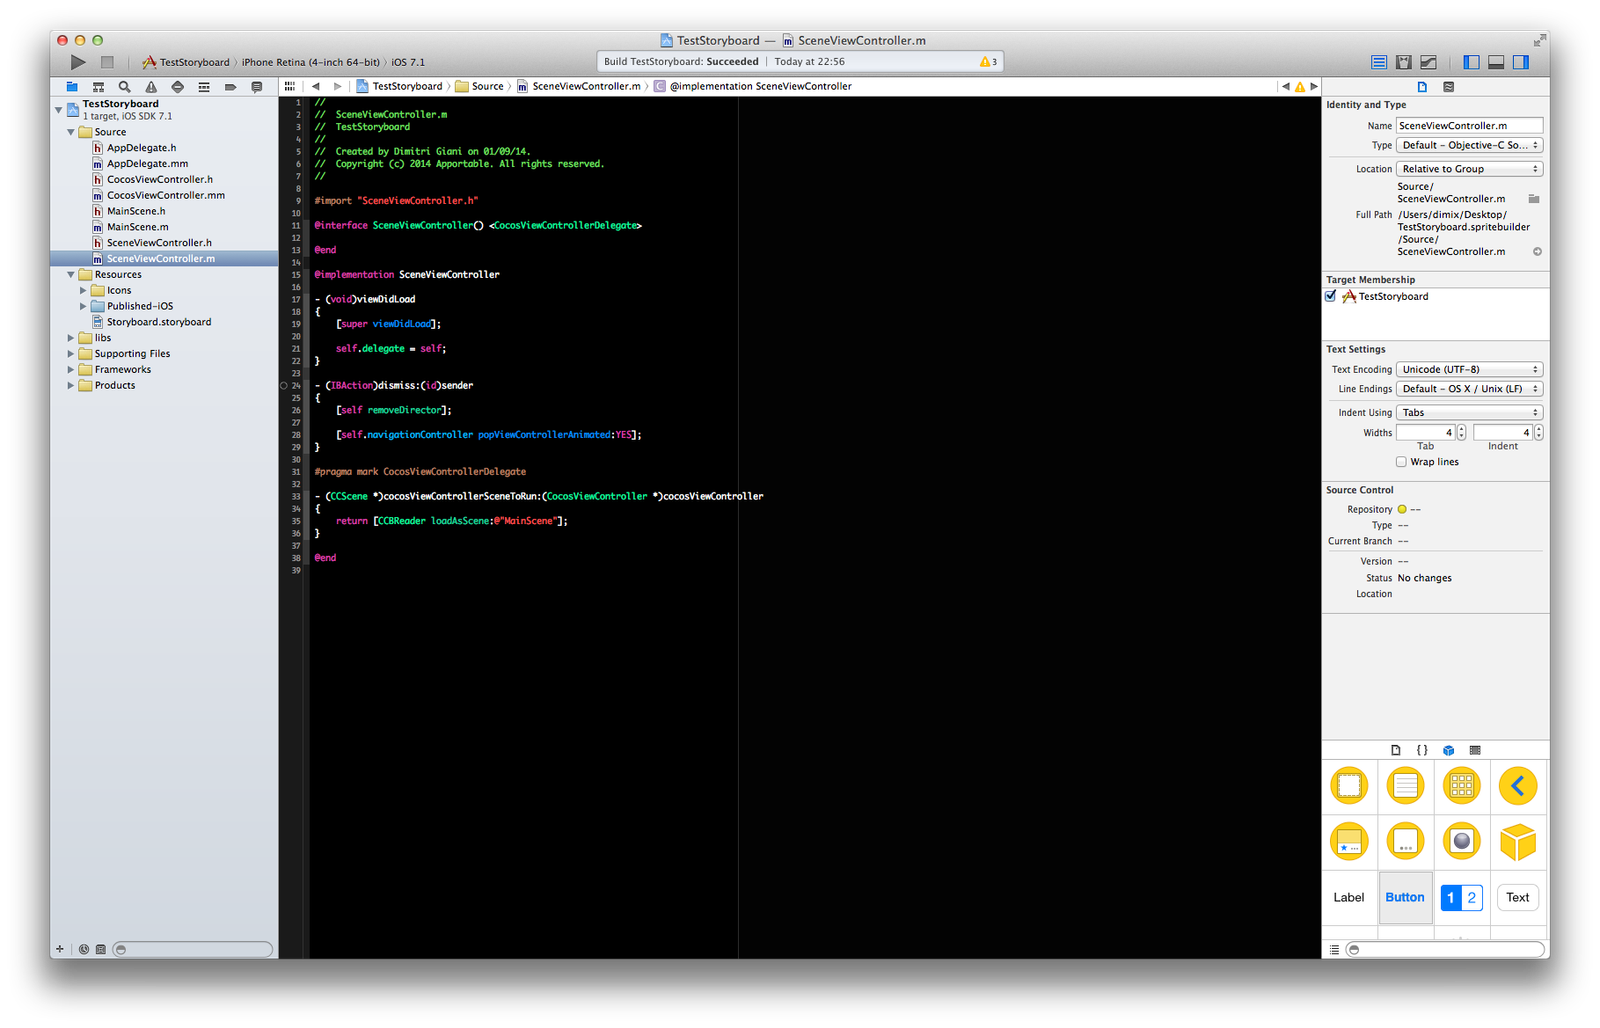
At this point you can create a new Class called SceneViewController as subclass of CocosViewController.
Add the following lines to the controller class.
[syntax type=”php”]
@interface SceneViewController() <CocosViewControllerDelegate>
@end
@implementation SceneViewController
– (void)viewDidLoad
{
[super viewDidLoad];
self.delegate = self;
}
– (IBAction)dismiss:(id)sender
{
[self removeDirector];
[self.navigationController popViewControllerAnimated:YES];
}
#pragma mark CocosViewControllerDelegate
– (CCScene *)cocosViewControllerSceneToRun:(CocosViewController *)cocosViewController
{
return [CCBReader loadAsScene:@”MainScene”];
}
@end
[/syntax]
You can watch at the screenshot.
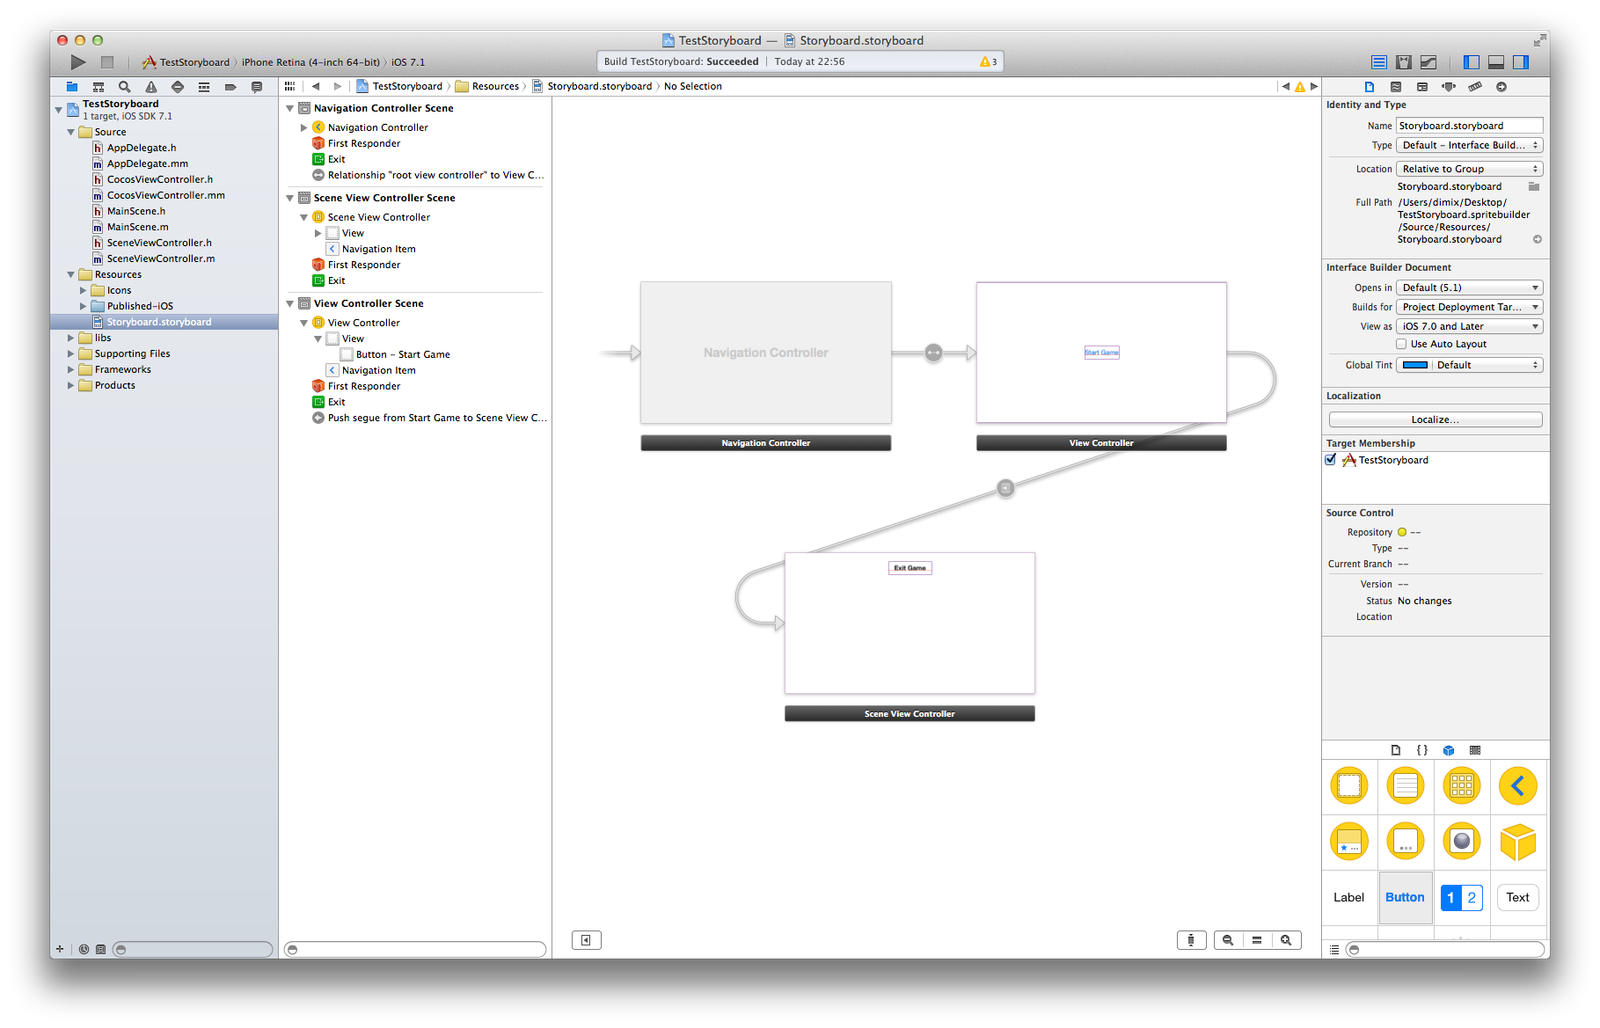
Now go to the storyboard. Add a navigation controller, a menu view controller with a button and add the SceneViewController.
Link the navigation controller to the menu controller and the menu button to the SceneViewController with a push segue.
Now you only need to create an exit button in the SceneViewController and link to the -dismiss: method of the same controller.
Build and Run. If you followed all the steps you have now Cocos2D inside of a Storyboard app.
I hope you enjoy it and if you have some problems you can write here in the comments or in the Cocos2D forum post.